4.1 Setting up
To code the microcontrollers used in Mechmania, namely the Arduino and the Esp32, we recommend that you use the Arduino IDE.
Arduino IDE Setup
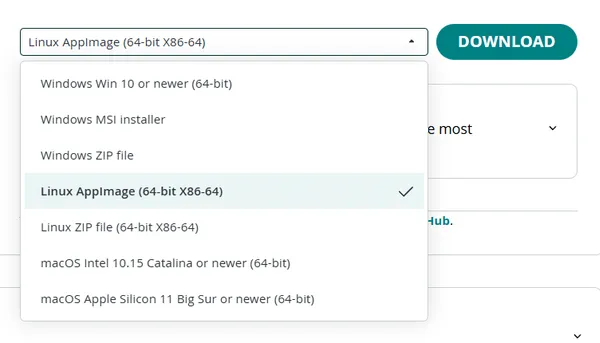
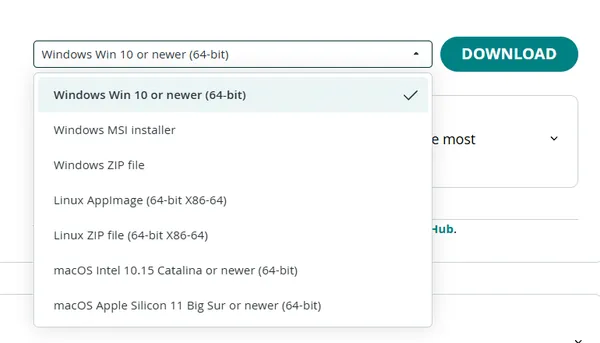
Section titled “Arduino IDE Setup”First, download the correct Arduino IDE executable for your operating system from the official site
You should be able to find the downloaded IDE inside of your /home/<user>/Downloads/ folder. Rename it to arduinoIDE.AppImage.
Open a terminal instance to the Downloads folder, make the IDE executable, then run it.
# navigate to downloadscd /home/<user>/Downloads/
# add execute permission to the AppImagechmod +x ./arduinoIDE.AppImage
# run the program./arduinoIDE.AppImage
You should be able to also run it by double clicking on the icon in the file browser or desktop
Find the downloaded installer inside yof your C:\Users\<user>\Downloads\ directory. Open the installer and then follow the install steps. The default install options should be perfect unless you have any special circumstances, such as needing to install on a different disk than C:/.
You should be able to launch the IDE by searching up Arduino inside the Start Menu and clicking Open.
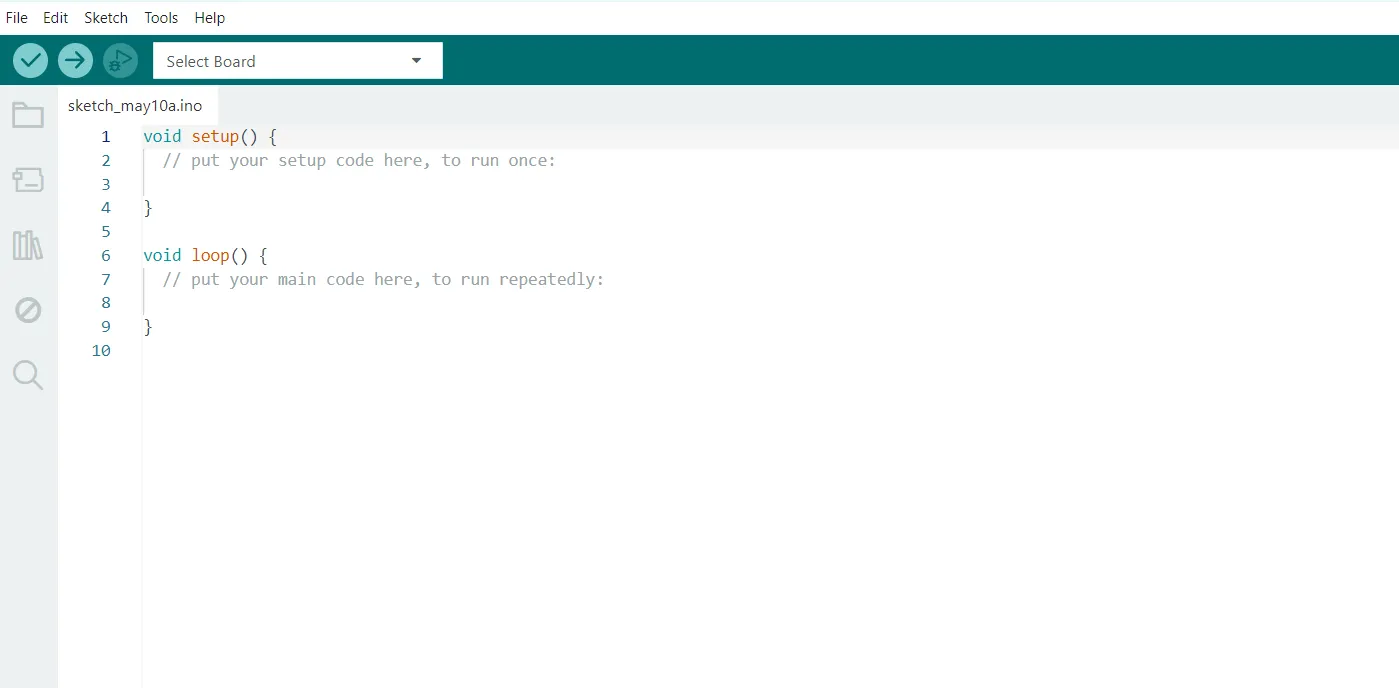
The Arduino IDE should now be up and running, however there are still a few things that need to be set up. Your screen should look like this:
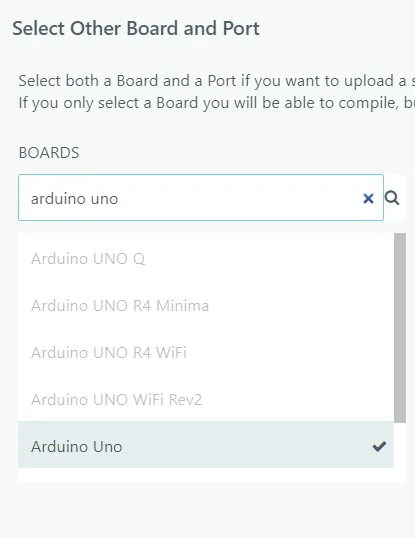
To install the toolchain for a board, click on the “Select Board” button at the top left of the screen. For our purposes, we will be installing the toolchain for the Arduino Uno rev3.
In the search box, search for Arduino Uno. The default is the rev3, however for other boards, such as the ESP32, which has a lot of different models, you may need to be more specific. Once selected, click Ok. The IDE should install the toolchain for the board onto your system.